Valheim DS – Windows - SteamCMD
Installation instructions for setting up Valheim dedicated server on Windows using SteamCMD
Step 1: Open File Explorer ![]() and select
and select ![]()
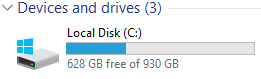
Step 1b: Open your Local Disk by double-clicking.
Step 2: Right click anywhere and create a new folder.

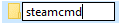
Step 2a: Rename the folder steamcmd
Step 2b: Navigate back to Local Disk and create  using the same process.
Step 2c: Inside the create your  folder.
Step 3: Download SteamCMD
Step 3a: Navigate to your Downloads Folder ![]()
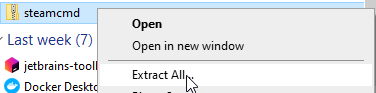
Step 3b: Right click steamcmd.zip to extract it.
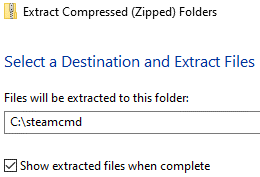
Step 3c: Type C:\steamcmd into the path field as below, then click 
Step 4: Once steamcmd.zip has been exctracted, navigate to the steamcmd folder created earlier.
Step 4a: While holding CTRL & SHIFT together, drag ![]() to your desktop.
to your desktop.
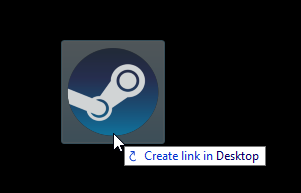
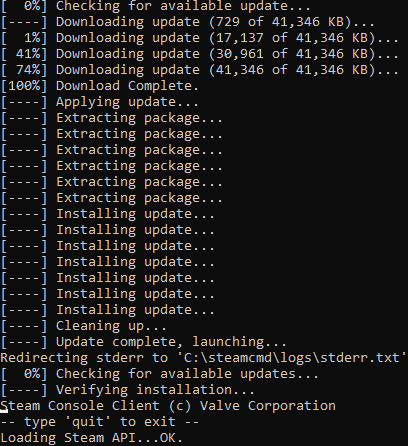
Step 5: Double click the new shortcut to launch the installation of ![]()
Step 5a: SteamCMD will now install.
Step 6: Login anonymously to Steam. login anonymous

Step 6a: Change the install directory. force_install_dir C:\Valheim\Valheim_Server

Step 6b: Install Valheim Dedicated Server. app_update 896660 validate
